
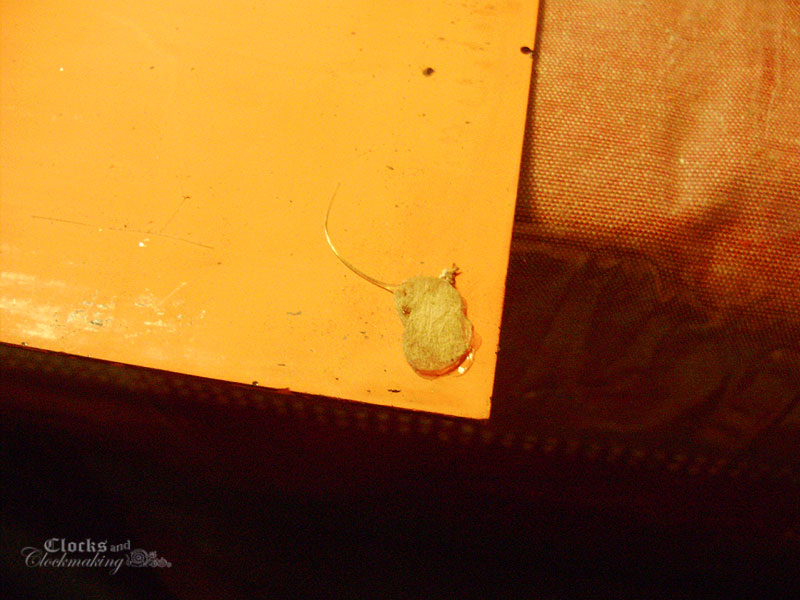
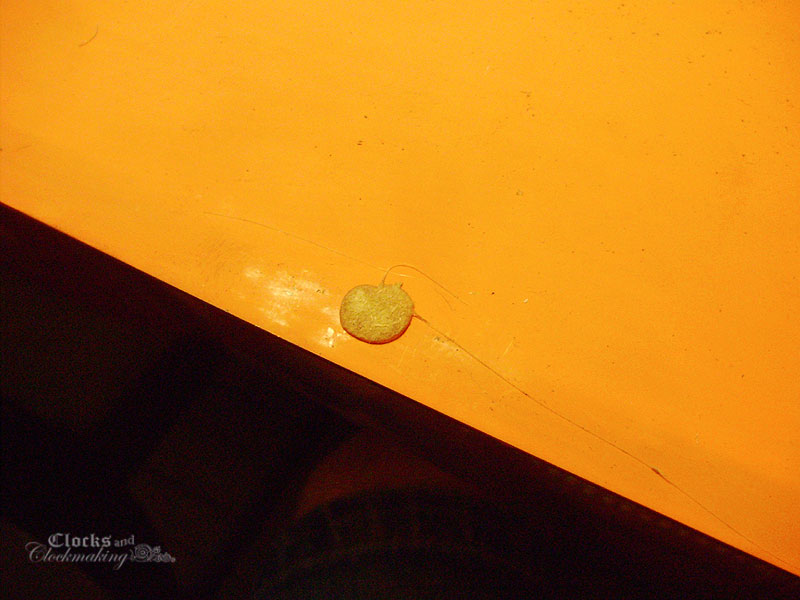
Removing the glue was a trial and error method, and the first two methods failed. The first scratched the silvering, while the second pulled all of it off:
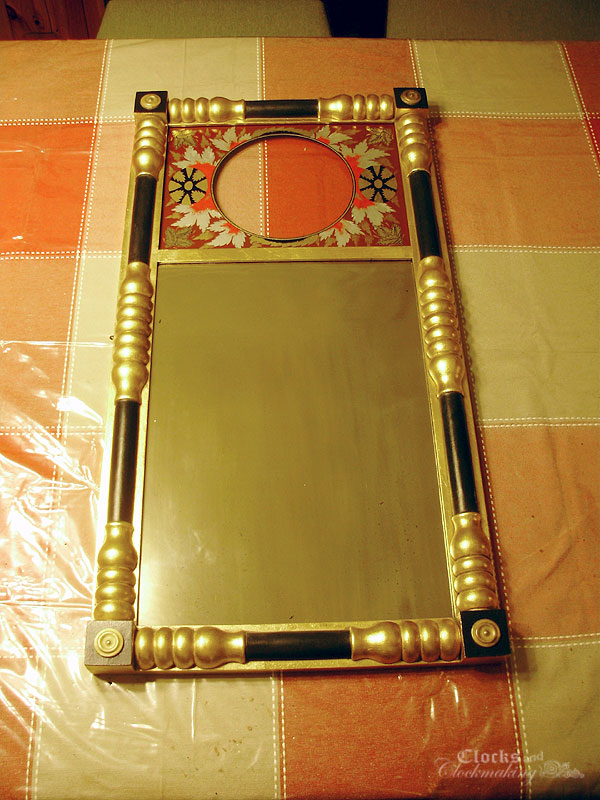
I eventually was able to remove all the glue using a mix of heat and a mild scrubbing in lacquer thinner. Once the glue was gone, I was able to cut the mirror to size and fit it onto the door. I used 12 small wood strips with a tiny nail in each.
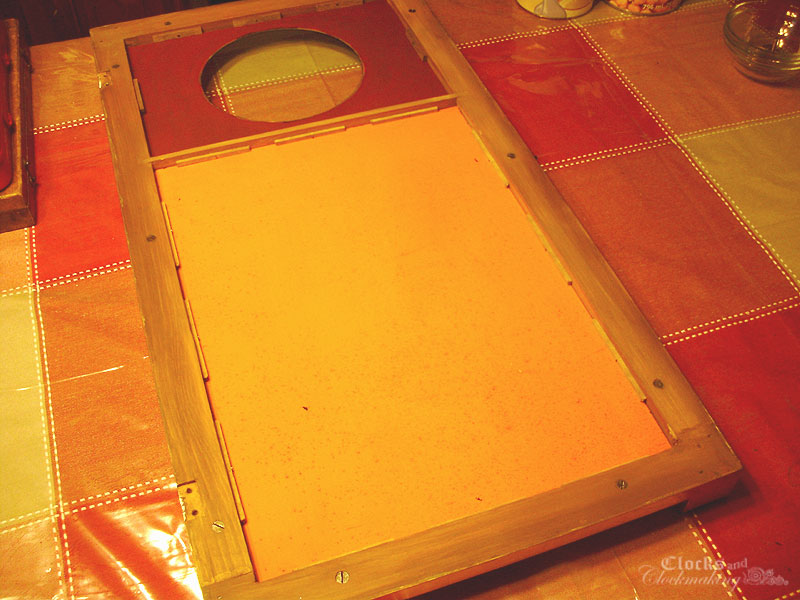
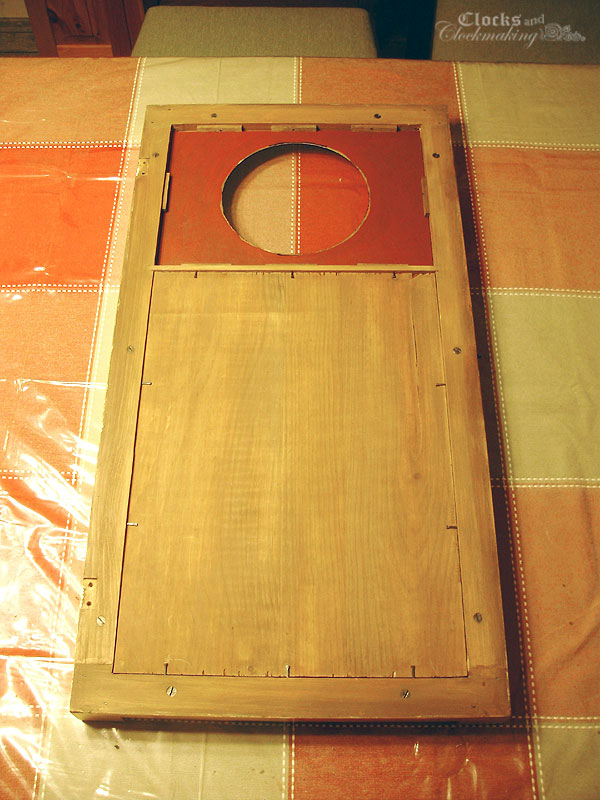
The "inside back" wood panel was attached with small square nails. Some of these panels are fixed with the beveled edge facing out, while others have it facing in. This side of the wood was nicer, and my bevels were rather rough, so I chose to have the bevels inside. The clearances on this were tight, and this is probably why most of these doors are 3/4" thick rather than 5/8".
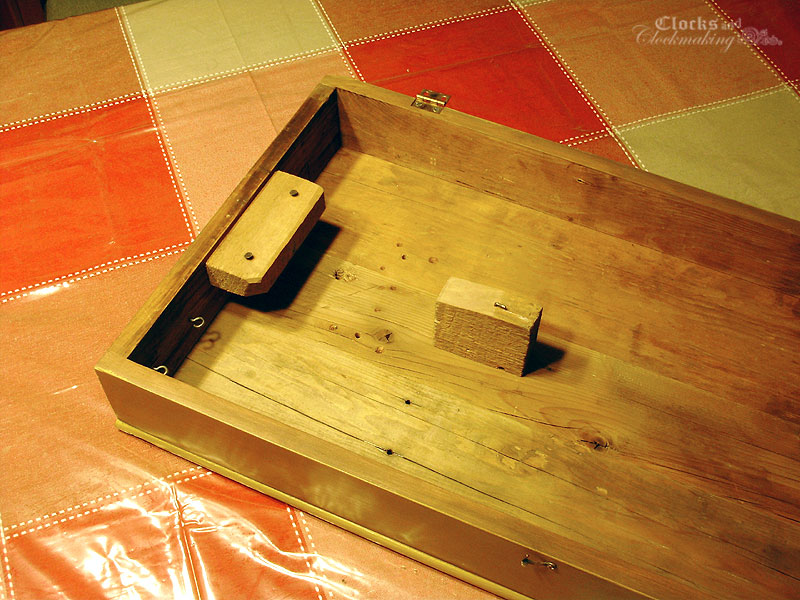
A few other small details that I did not show are the two rear bolts that hold the movement in place. Most are held in place with a single centre bolt, and a few small square nails on the interior to keep the movement from shifting, but I wanted a very secure fit since the weight is so heavy.
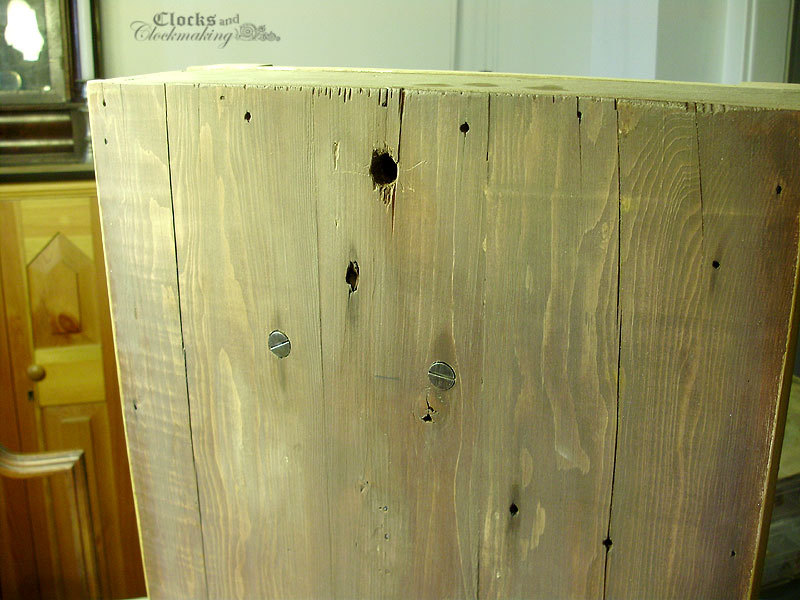
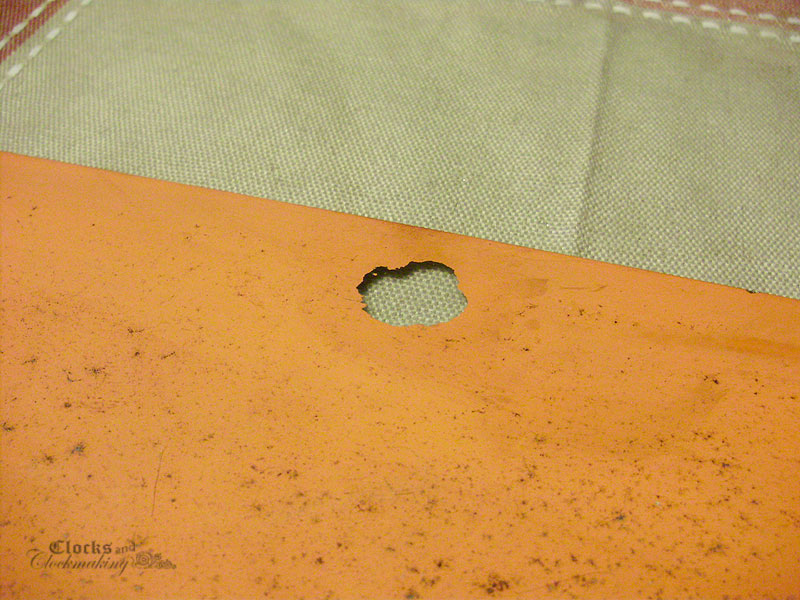
I don't remember if I had shown the pivot hole divots in the backboard, but I also adjusted the colour of the wooden dial blocks.
Aside from making a custom label, the clock is now finished and running nicely. Final photos will be shown in the next post.
No comments:
Post a Comment